
Overanalyzing overclocks: analysis of Deep Rock Galactic builds
Deep Rock Galactic (DRG) is a coop shooter where you play the role of a space dwarf employed in the titular mining corporation. You kill hordes of bugs, traverse procedurally-generated caverns, and drink mountain loads of beer. You can choose from four classes, each with different playstyles and weapons. Within each class, you can even create specific loadouts that change how a weapon behaves. It’s a fun game with a friendly community—and I’ve spent 600 hours in it so far.

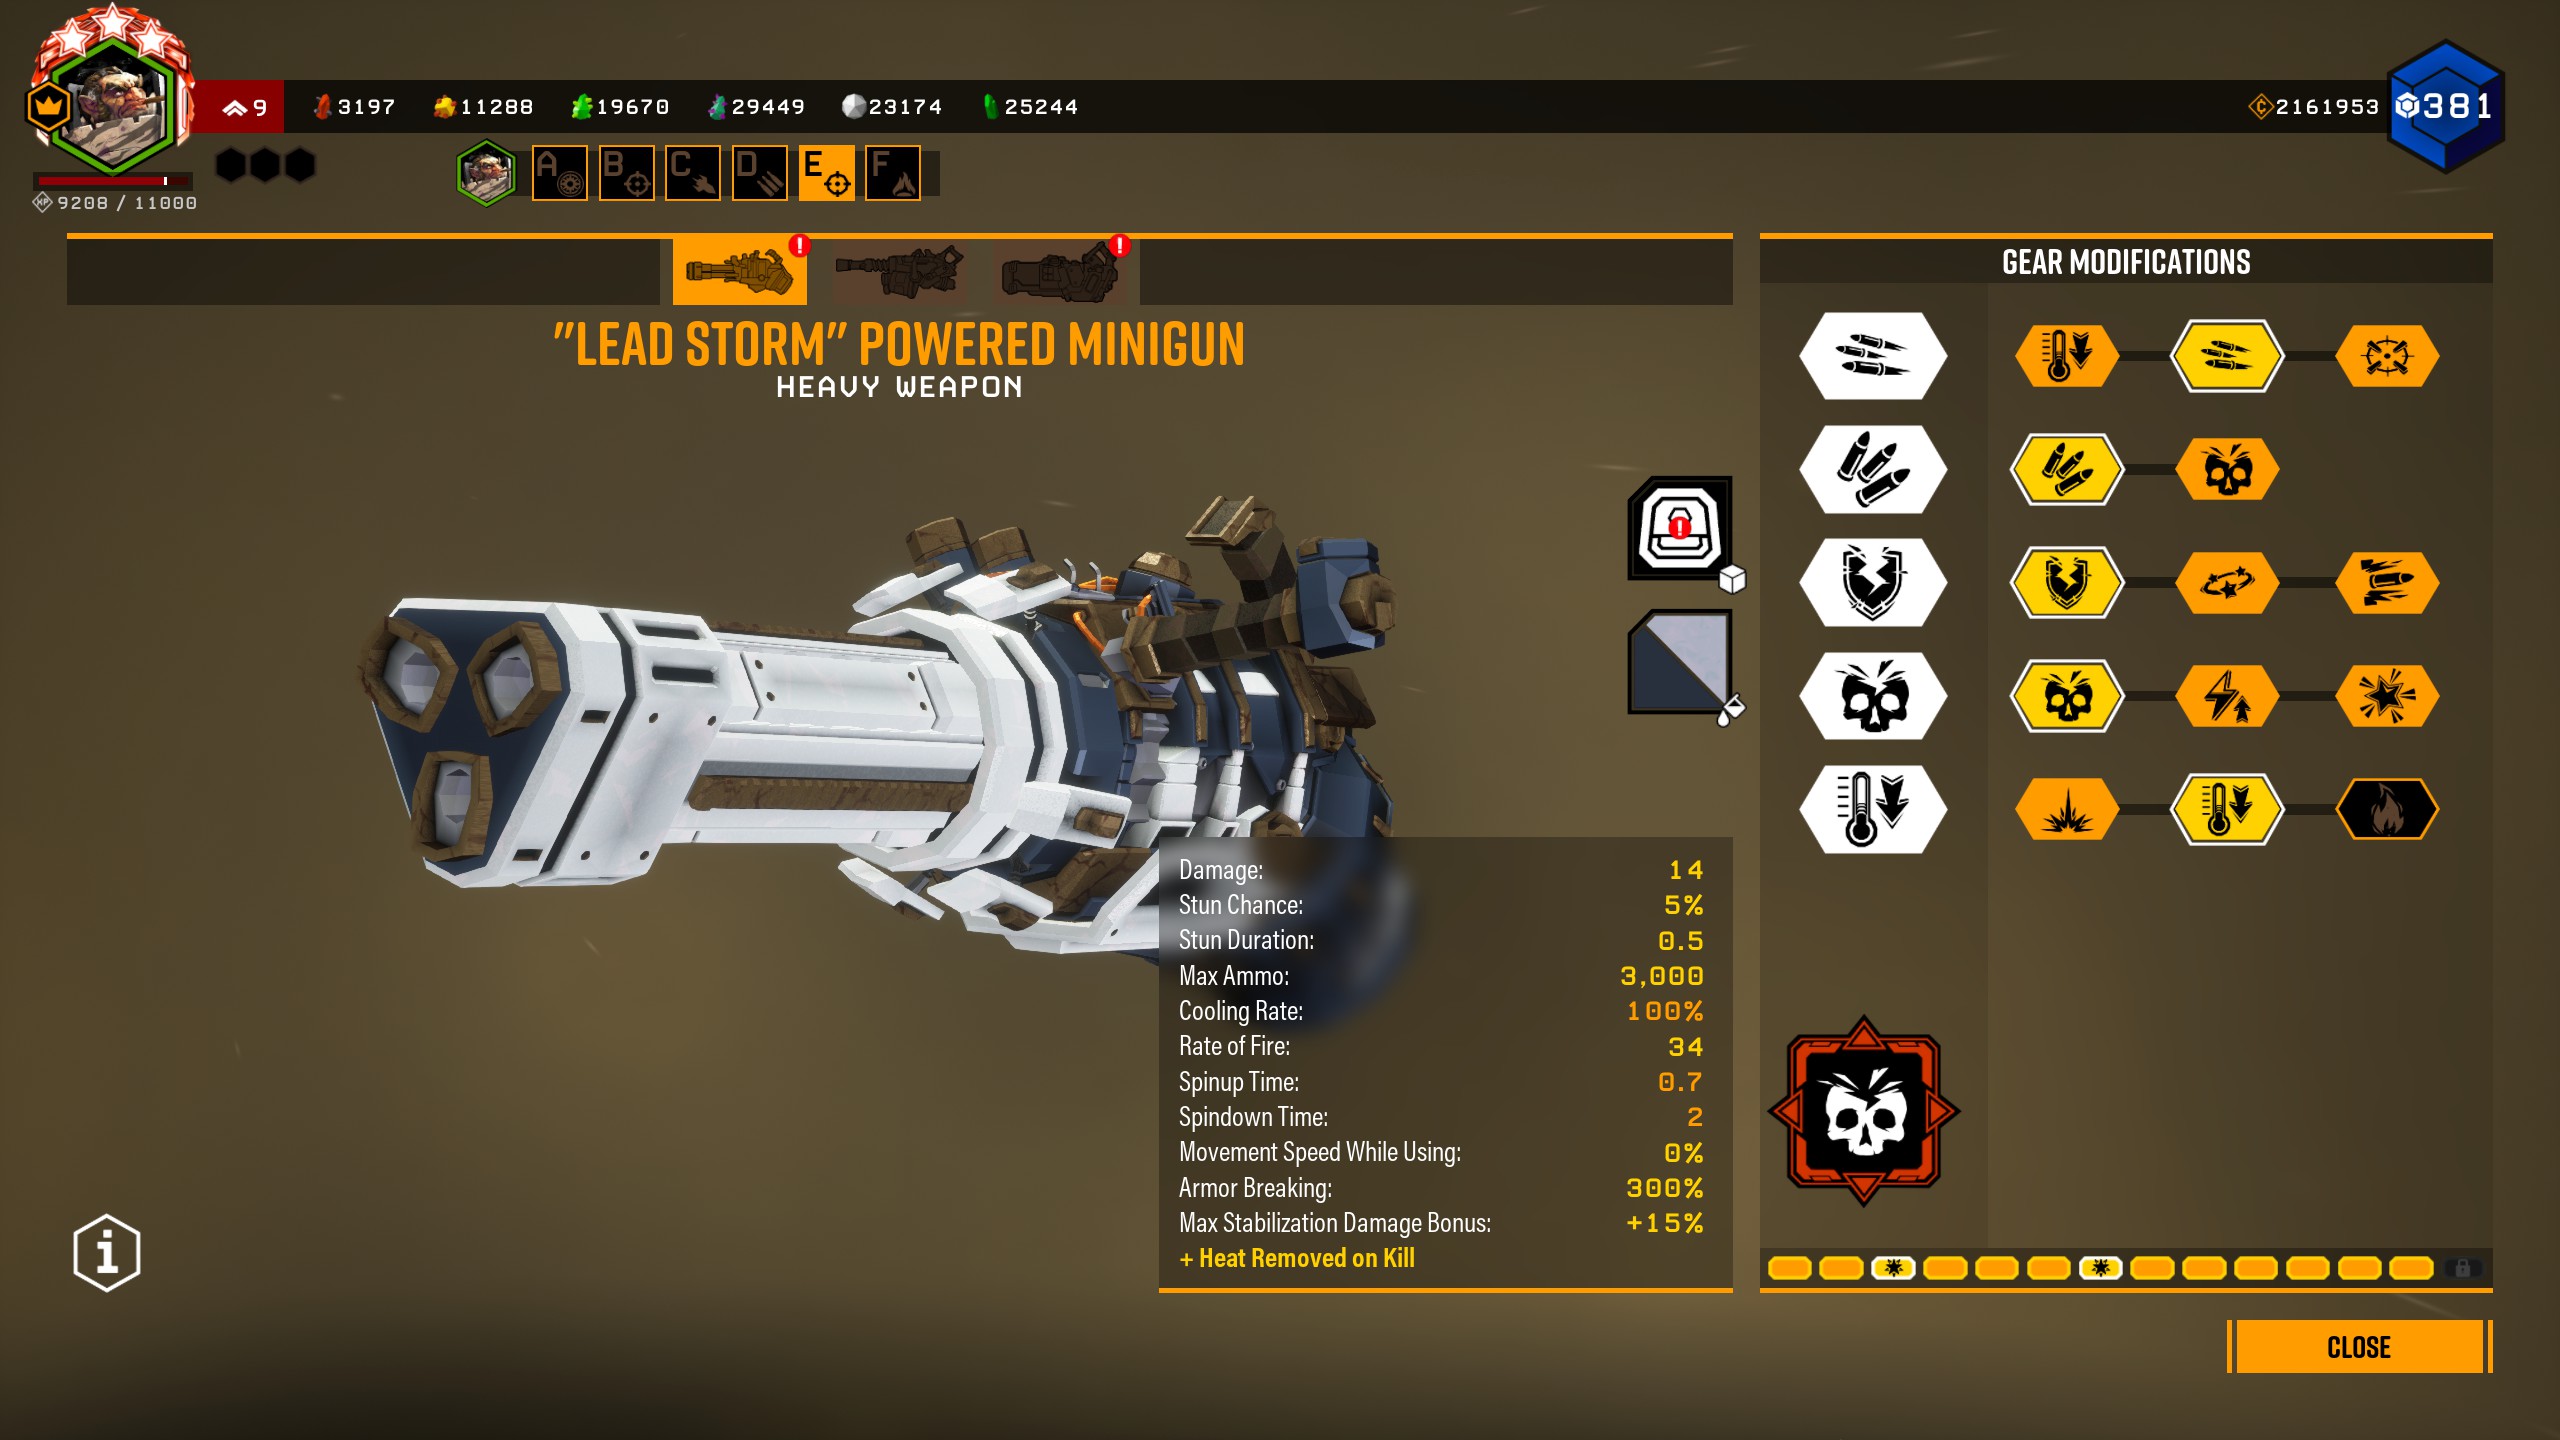
Build variety helps with the game’s longevity. One way DRG achieves this is through overclocks. They can be equipped to a weapon to modify their stats or drastically change their playstyle. For example, I can slot a Gunner’s minigun with an overclock that allows me to burn nearby enemies (Burning Hell) or significantly increase damage at the cost of mobility (Lead Storm). Coupled with a weapon’s built-in modifications, the possibilities are endless!
With the sheer number of possible loadouts, the community created a platform called Karl.GG where players can share and discuss their builds. Given the data available in the website, I’m interested in the following questions:
- Which builds tend to get the most attention? I’m curious if there are particular overclocks or builds the community uses more.
- How do players build their traversal and support tools? DRG’s traversal and support system is a masterpiece of game design. It encourages players to work together to solve challenges. I’m interested to see how most Karl.GG users modify their traversal tools in practice.
- Can different weapons be similar stat-wise? Although every weapon has its own feel (e.g., from missile launchers to an M1 Garand), I’m curious if their stats (damage, rate of fire, etc.) are spread out when built in a particular manner.
Getting the data
I got a data dump from MeatShield, one of the core developers of Karl.GG. The dump encompasses all builds created until the date of November 19, 2022:

However, it doesn’t have the number of salutes (or upvotes) for a given build. So I wrote a scraper and used MeatShield’s data for validation and for performing an inner join. The dataset contains 14,193 builds from May 7, 2020 to November 19, 2022. Before we proceed with the analysis, I just want to mention a few caveats and assumptions:
- Karl.GG doesn’t keep a history of builds in between patches. So if a build gets updated in a new patch (where weapons get rebalanced), I will assume that the creator optimized it for that patch.
- The number of builds in Karl.GG doesn’t always mean that it’s popular in-game. There’s no way to know for sure. For this analysis, I’ll treat it as a proxy for popularity. In the same vein, I’ll treat upvotes (“salutes”) as a proxy for loadout quality (e.g. ““hey, I tried this build and it’s a good one!”)
With that out of the way, let’s drink our Smart Stout and head to the analysis!
Note: some charts may be better viewed on desktop than on mobile.
Which builds tend to get the most attention? ↵
Even if there are hundreds of loadouts in DRG, the community tends to gravitate to a select few. In this section, I’ll start by analyzing the weapons in isolation, then on how they’re paired together, and lastly go into detail with the weapon mods and overclocks.
In the figures below, you’ll see how many builds are present for each Primary and Secondary weapon each month (Use the dropdown to highlight a specific weapon):
The vertical lines mark the release dates (PC) for each season. Most of these big releases come with significant balance changes, so it’s interesting to see how they affect the community’s behavior towards a particular weapon:
There are some interesting trends I want to give attention:
- Rise of the GK2: Scout’s Deepcore GK2 (primary) has received lukewarm attention for the past few seasons (even before Season 1). However, when Plaguefall introduced buffs to its base stats and overclocks, the number of builds skyrocketed. GK2 is my go-to build now. It’s fun to use and packs more punch.
- Sad Subata: Driller’s Subata 120 (secondary) constantly remained at the lower rung of build popularity. It doesn’t mean that it’s a bad weapon. One explanation is that there may only be a few viable builds for Subata, hence the low number.
-
U-shaped drop?: There is a U-shaped trend for the new Season 2 secondaries. We found a lot of interest post-release, but it quickly died down in the middle of the season. However, it’s starting to pick up again by the start of Season 3.

-
Gunner and Driller primaries trend similarly: the DRG community often thinks that the most “balanced” primaries belong to these classes. Looking at the build frequencies, it seems that it holds true.

Right now, we’re looking at each weapon in isolation. However, I’m also interested in how the community pairs the primary and secondary weapons together. Below, you’ll see a heatmap for each class with their weapon pairings. You can hover over each box to see the weapon combination and the number of builds for that pair.
The most popular pairings overall are the Gunner’s Minigun with Revolver and the Engineer’s Shotgun with Grenade Launcher. The least popular ones are the Driller’s Sludge Pump with Subata and the Gunner’s Minigun with Coilgun.
Now, let’s head to the Overclocks (OCs). Notice how the majority of loadouts in Karl.GG have overclocks in them. This pattern makes sense because DRG’s build variety shines with their presence.
| Class | Primaries (% with OC) | Secondaries (% with OC) |
|---|---|---|
| Driller | 94.18% | 93.36% |
| Engineer | 95.32% | 95.26% |
| Gunner | 94.61% | 95.53% |
| Scout | 94.68% | 95.50% |
I’m curious if there’s a difference among overclock types— clean, balanced, and unstable. There sure is. Gunner primaries strongly prefer unstable overclocks, while Scout primaries favor balanced ones. Few builds revolve around clean overclocks, while the ratio of balanced and unstable ones is about the same.
It’s also interesting how the ratio changes regarding secondary weapons. For example, clean overclocks dominated Scout secondaries—primarily due to the popular Special Powder. You can find more information in the figure below. Hover your mouse on the bar segments to see the actual values.
Now, let’s look at the most popular overclocks. The following figures show, in percentage, how many builds are present for a particular overlock in a given class. Hovering over the bars will reveal the full name of the OC and its associated weapon.
Some observations:
- Standouts. Gunner’s primary OCs revolve around Lead Storm, Burning Hell, Big Bertha, and NTP. Interestingly, the least popular OC (Manual Guidance Cutoff) lags 10x behind the next (Thinned Drummed Walls).
- A Song of Ice and Fire. The leading Driller OCs are Tuned Cooler (Cryo Cannon) and Sticky Fuel (Flamethrower). The Sludge Pump is a new addition, that’s why there are fewer builds in it. I appreciate that the top 2 overclocks have different elemental properties.
- Balanced kit. Engineers tend to have the most balanced number of OC loadouts, with a few standouts here and there. Even the Smart Rifle, a new addition from Season 1, already has many builds involving Explosive Chemical Rounds and Executioner.
Below we have the same chart but with secondary weapons:
And here are some of my observations:
- Movement is king. Scout’s Special Powder takes a huge lead (20%) over Embedded Detonators (14%). It’s the most common loadout in Karl.GG. Interestingly, Engineer’s RJ250 behaves the same way. These two overclocks give your character new movement options, so it’s understandable why so many builds incorporate them.
- Just the revolver, please. Most leading Gunner overclocks involve the revolver, with only the “Lead Spray” BRT7 in the top spot. I would even claim that a “Lead Spray” BRT7 build also feels like a revolver.
How do players build their traversal and support tools? ↵
Deep Rock Galactic’s traversal and support tools bring versatility and synergy between classes. Each class has its own tool, and it’s flexible enough to cover another’s slack but not too overpowered that it renders another useless.
In the following sections, I’ll show the common builds for each traversal and support tool in Karl.GG. They are represented as a Sankey diagram. Each red vertical bar represents an equipment mod, arranged for each tier from left to right. The grey flowing lines represent the loadouts that choose a particular build. The greater the width, the greater the number. As a good rule of thumb:
- If most loadouts are homogeneous, then the Sankey diagram will look like one grey box. More versatile mods have a lot of “flows” in them.
- Numbers are represented as percentages, so you can read something like
Longer
Cable: 61.08
as: “61.08% of loadouts in Karl.GG choose Longer Cable over the alternative.”
As for the data, I only chose loadouts with complete builds (i.e., each tier has a modification). I also normalized the numbers into percentages for easier comparison.
Traversal tools
Traversal tools allow a player (or the team) to navigate DRG’s procedurally-generated maps. Scouts can grapple across walls, Drillers can drill through the terrain, Engineers can create artificial platforms, and Gunners can launch ziplines across chasms.
Most Scout grappling hook builds favor longer cables over a faster recharge time. The Tier 3 builds are also reasonably balanced with a slight tip to High Velocity Ejection System. Lastly, I found it surprising that Bypassed *Integrity Check dominated Tier 4 builds. I thought it would be a good mix of the latter and Safety First. Overall, a Scout loadout in Karl.GG either falls into two archetypes: a balanced build (BAAC) and a “snap grapple” build (AAXC).
As a sidenote, almost a quarter of builds with Special Powder uses BAAC (23%), followed by AAAC and BABC (both at 16%)
Gunner loadouts are homogeneous, favoring Upgraded Connection Joint for better angle and Increased Motor Traction for speed. Unfortunately, there’s nothing much to say for Gunners, they are the least mobile class in the game. As a Gunner main, I believe that Ziplines will benefit with much needed variety.
Similar to Gunners, Engineers tend to have homogeneous loadouts in Karl.GG. Expanded Ammo Bags dominate Tier 1, while Tier 4 has a mix between Repellant Additive and Expanded Ammo Bags II. Even loadouts with RJ250 follow this distribution: it’s still BAB (53%), BAA (20%), and others.
Driller loadouts have two archetypes: the Barbed Drills or the Hardened *Drill Tips user. Aside from that, Tier 2 to 4 are the same. The distribution changes a bit when using *Cryo Cannon: loadouts with Barbed Drills are twice as many as Hardened Drill Tips. Aside from that, the remaining tiers don’t change.
Overall, traversal loadouts in Karl.GG are homogeneous. They only differ in a tier or two. It doesn’t matter if one employs a movement-based overclock like Special Powder or RJ250. Perhaps it’s by design. Unlike weapons, traversal tools need to be consistent as they make up half the team’s synergy. In the next section, we’ll discuss the other half of the equation— utility tools.
Utility tools
Utility tools reinforce team synergy during combat. Scouts can
shoot brighter flares to light up a cave, Gunners can deploy shields to protect
their teammates, Drillers can throw a C4 to kill the whole team cause wide
area damage, and Engineers can build turrets to setup a defensive perimeter.
The Scout’s flare gun can be configured for quantity (more flares, but they burn fast), quality (better flares but low ammo), and balanced (a mix of both). There’s a good distribution here that shows the equipment’s versatility.
Most loadouts involving the Gunner’s shield generator prioritize efficiency (i.e., recharge time and duration) over area-of-effect (AoE). As a Gunner main, this was a bit surprising. I usually build my shield to maximize AoE, giving my team more breathing room to get their bearings when in a pinch. So I find it interesting that my build (Improved Projector → Fast Charging Capacitors → Supercharged Coils) is unpopular.
The Driller’s Satchel Charge or C4 has become the subject of memes in the DRG community due to its propensity for causing friendly-fire. However, most loadouts build the C4 for terrain clearing rather than direct damage. Even so, a satchel charge’s breakpoint damage will pack a punch, especially at higher hazard levels.
Lastly, the Engineer’s turret is the most versatile equipment among the four classes. The Sankey diagram says it all: multiple wavy lines indicate an excellent distribution of loadouts. We can see preferences here and there. For example, the Defender System in T4 is a common choice, but there are three possible paths to get there. If we’re talking about utility tools, then the Engineer has the most flexible playstyle.
Can different weapons be similar stat-wise? ↵
In this section, we’ll do a bit of theorycrafting and explore all possible
builds in DRG! A build includes a weapon, its mods, and its overclocks. So, for
example, we have something like Thunderhead Heavy Autocannon (AACBB) +
Neurotoxin Payload for a Gunner build. I want to do this for each combination
of weapon, mod, and overclock.
To get the data, I scraped the tables from Karl.GG’s Advanced Statistics Page. They provide normalized values for burst, sustained, and miscellaneous damage. However, they don’t have computations for the new secondaries, so we only have 20 weapons instead of 24.
This then gives us 12,818 builds that contain any possible combination of weapons, mods, and overclocks. Each build has 29 features like ideal burst damage, weakpoint damage, general accuracy, etc. I normalized each feature using min-max normalization so that they’re more uniform.
Lastly, the larger figures are interactive; you can click a legend to highlight builds for that particular class. When you hover over the highlighted points, the name of the build will show up. You can also zoom and pan these figures to see each loadout at a micro level.
Note that these numbers, according to MeatShield, are already outdated. So don’t treat this as gospel, just a fun exploration of previous DRG loadouts! Also, big thanks to MeatShield and their DPS Calculator for providing high-level statistics for different DRG loadouts.
How ammo efficient are most builds?
First, I’m curious how much damage a weapon can dish out in a single clip. In the figure below, I’m plotting the time it takes to expend all ammo vs. the damage you can get per magazine. For the former, it assumes a maximum fire rate and no breaks between firing, reloading, and firing again.


The more a distribution swings bottom-left, the less ammo efficient it is. Engineers tend to have this problem. Their weapons grant severe damage, but they see themselves resupplying more often. You can observe this when using grenade launchers and the breach cutter. Gunners and Drillers are more ammo efficient, with the former dishing out more damage. Scouts are well-distributed in terms of efficiency, but they don’t have enough damage compared to other classes.
From this chart, the most ammo efficient-build is the “Hurricane Guided Rocket System (CBABA/ABABA) + Minelayer System, while the least ammo-efficient build is either *Deepcore 40MM PGL (CBACC) + Fatboy or “Bulldog” Heavy Revolver (ABCBA) + Elephant Rounds. In addition, you can explore the interactive chart below:
How much damage can each build produce?
I’m also interested in how much raw damage a particular build can produce. For this, I’m comparing a build’s sustained damage-per-second (DPS) and potential overkill. Here, sustained DPS pertains to the damage per shot multiplied by the number of shots a weapon can fire per second. This attribute also includes damage-over-time (DoT) effects and miscellaneous damage. In the DRG calculator, I had both weakpoint, accuracy, and armor break computations to see the total damage potential of a build.
On the other hand, potential overkill computes the overkill percentage for each of the 21 enemy types in DRG with weighted values. When taken together, you get the chart below. As you move toward the upper-right portion of the graph, builds tend to deal excessive damage. Moving up, you deal the right amount of damage as long as the weapon connects.


The Engineer’s Breach Cutter (ABBBA) + Spinning Death is the build with the highest overkill capability. In contrast, the build with the highest sustained DPS is the Scout’s Zhukov NUK17 (BCBBB) + Embedded Detonators. Interestingly, the lowest DPS build is the Scout’s DRAK-25 Plasma Carbine (BACBA) + Overtuned Particle Accelerator. Feel free to play around with the interactive chart below.
How do builds fare with hordes?
As a horde shooter, I’m also interested in how builds fare against swarms and large groups of enemies. Here, I’m comparing the maximum number of enemies a weapon can hit versus its multi-target damage. The DRG calculator computes the number of multi-targets via the following models:
- For Area-of-Effect (AoE) weaponry, a merchant stacking model to create a honeycomb distribution of grunt enemies.
- For Flamethrower and Cryo Cannon, a model that estimates how many grunts can be stacked in a straight line on a flat ground; and
- For hitscan weapons, a model assumes that a bullet will hit another target if it has blow-through and ricochet mods.


Scouts don’t have solid swarm-clearing capabilities. Therefore, its best multi-target build is either the DRAK-25 Plasma Carbine (CACBB) + Aggressive Venting or DRAK-25 Plasma Carbine (CACBB) + Impact Deflection. On the other hand, Engineers are the most flexible regarding single-target and multi-target damage. Interestingly, Gunners and Drillers are at the low end of the x-axis, but they both make it up in terms of raw power.
If you want to hit as many targets simultaneously, your best bet is a well-placed Fat Boy (Deepcore 40MM PGL (AACBA) + Fat Boy). Lastly, if you want raw damage, you should choose the CRPSR Flamethrower (BCCCA) + Fuel Stream Diffuser. Use the interactive chart below to see how other builds fare:
Bonus: Map of DRG Weapon Builds
The DRG Advanced Calculator gives us a lot of features to explore, 29 to be exact. Plotting each of their interactions may be an arduous task. So instead, I will use a technique called UMAP (Uniform Manifold Approximation and Projection) to reduce these 29 features into two while preserving their structure and meaning. The result is the map below:
Each point corresponds to a particular build, color-coded by their class. Points that are closer to one another mean that they’re similar stat-wise. Neighboring points form clusters, and each cluster its their own attributes. I highly recommend playing around with this map. You can zoom, pan, and hover over each point to see the corresponding build.
Conclusion
Deep Rock Galactic is one of my favorite games of all time. There’s replayability due to the number of loadouts and playstyles you can experiment upon. This blog post tries to approach this mechanic in a more data-driven fashion. We learned that:
- Some builds get more attention, and they wax or wane over time.
- Traversal tools tend to be homogeneous, but support tools can vary amongst loadouts.
- Some weapons are similar stat-wise, even if they play differently.
As a numbers guy, I like “minmaxing” my build because I enjoy playing efficiently. It also allows me to pull up my weight on elite deep dives and higher hazard levels. However, builds in DRG allow fun and creative expression. Play what you feel is right, it’s a game after all.
Lastly, I hope that you enjoyed reading through this blog post. I’m looking forward to seeing you in the caves of Hoxxes. Don’t forget to say hi! Until then, rock and stone!