
How to fuse chips in NieR: Automata
Fusing chips in NieR: Automata follows an interesting mechanic. In this blogpost, I’ll decompose this into three parts so that you can intuitively understand how it works. Before we begin, remember that there are three areas where you can fuse chips:
- In the Bunker Terminal.
- In the Resistance Camp (the easiest place to go to), and
- Near the Canyon entrance from the Forest (this machine can fuse chips up to Level 8).
The reason I wrote this is because most guides tend to go through the details without explaining the general patterns as to why they work (e.g., odd-even scheme, table of values, etc.). Here, I’ll condense them into three simple rules:
- All Chips have a \(Cost\) and a \(Level\). Its effect only scales to the latter.
- You can only fuse chips of the same level.
- The stats of the resulting chip is computed via the equation:
All Chips have a Cost and Level
Whenever you open the “Plug-in Chips” menu under the “Skills” tab, you’d notice
that each Chip has a numerical Cost ([4], [21], [13]) and Level (+1,
+2, +3). The former dictates how much space a chip takes in your memory,
while the latter talks about its value.
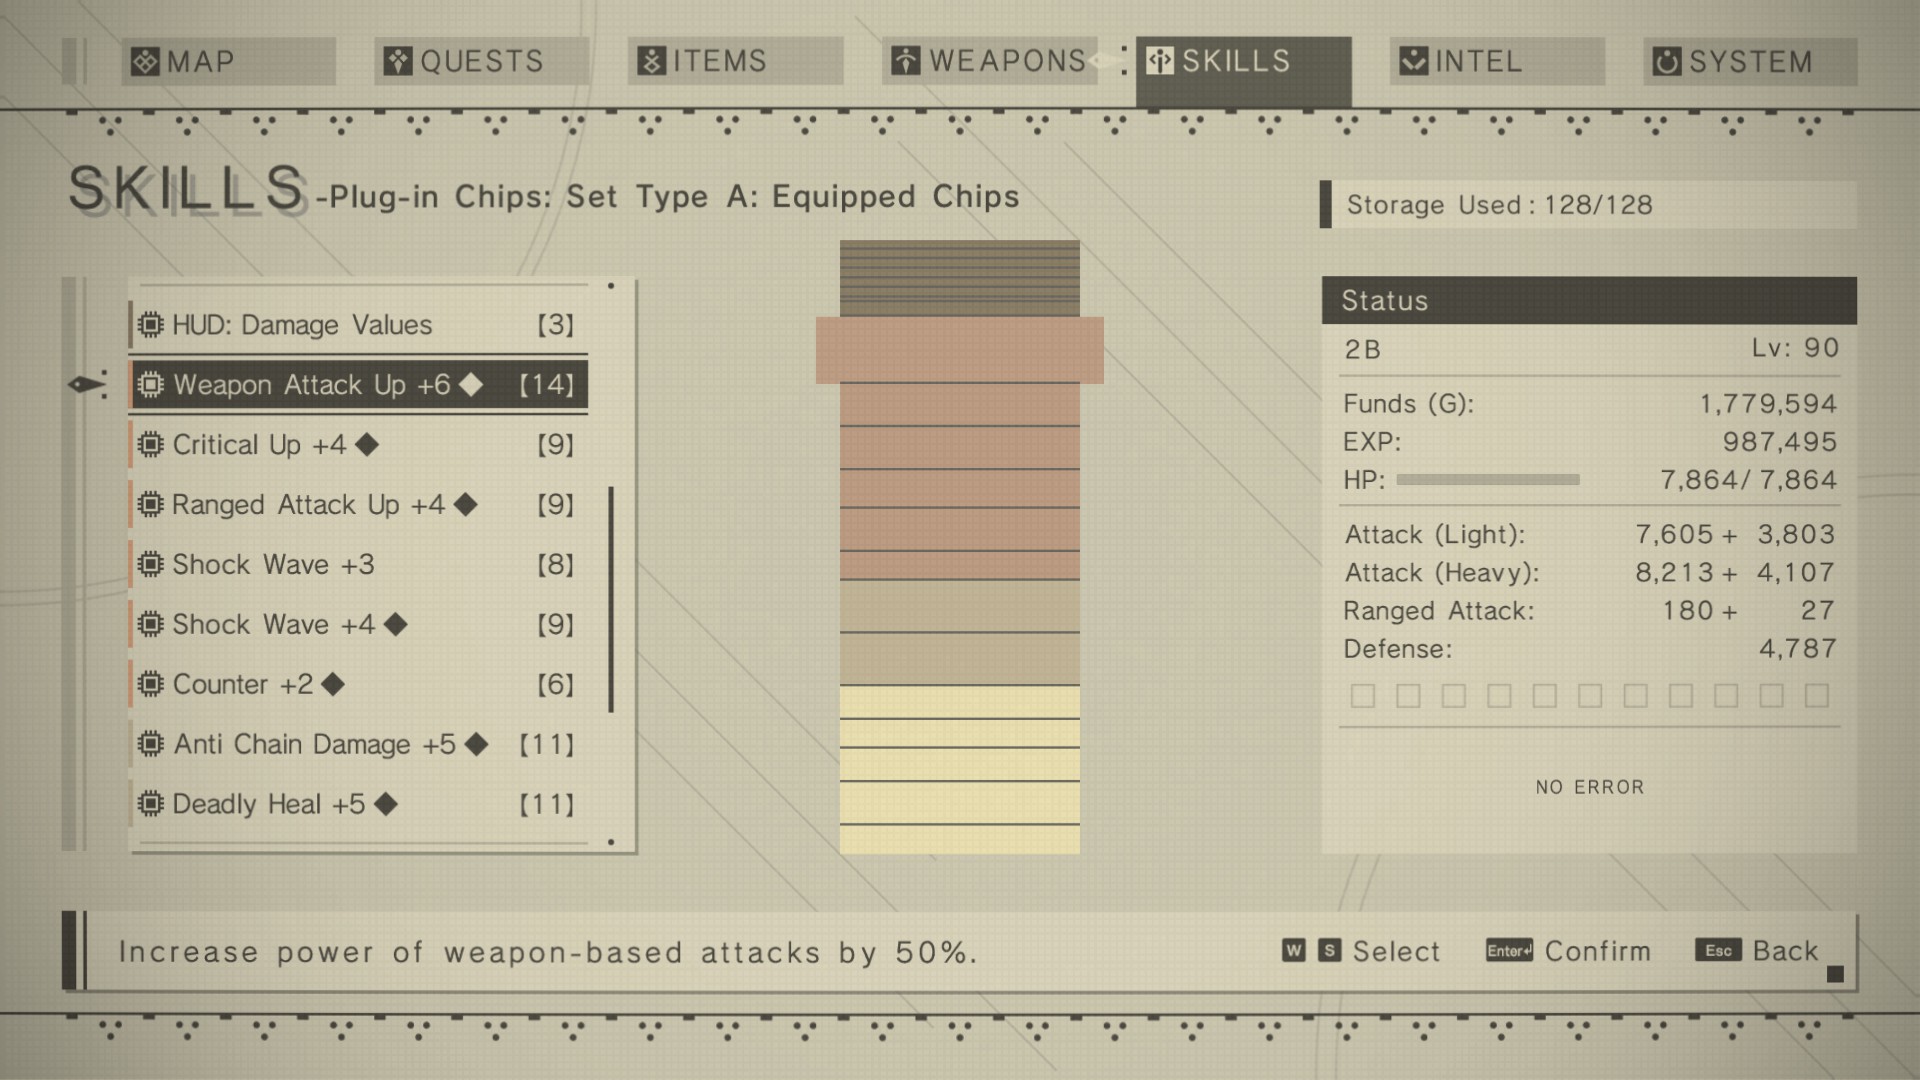
A Chip’s effect only scales to its Level. For example, a Level 1 Weapon Attack
Up chip gives +4%
increase in weapon damage. On the other hand, a Level 6 chip gives a staggering
+50% increase. The costs also scale, but it’s not consistent. This means,
it’s possible to have high value chips with lower costs and low-value
chips with higher costs.
It’s possible to have high-value chips with lower costs and low-value chips with higher costs
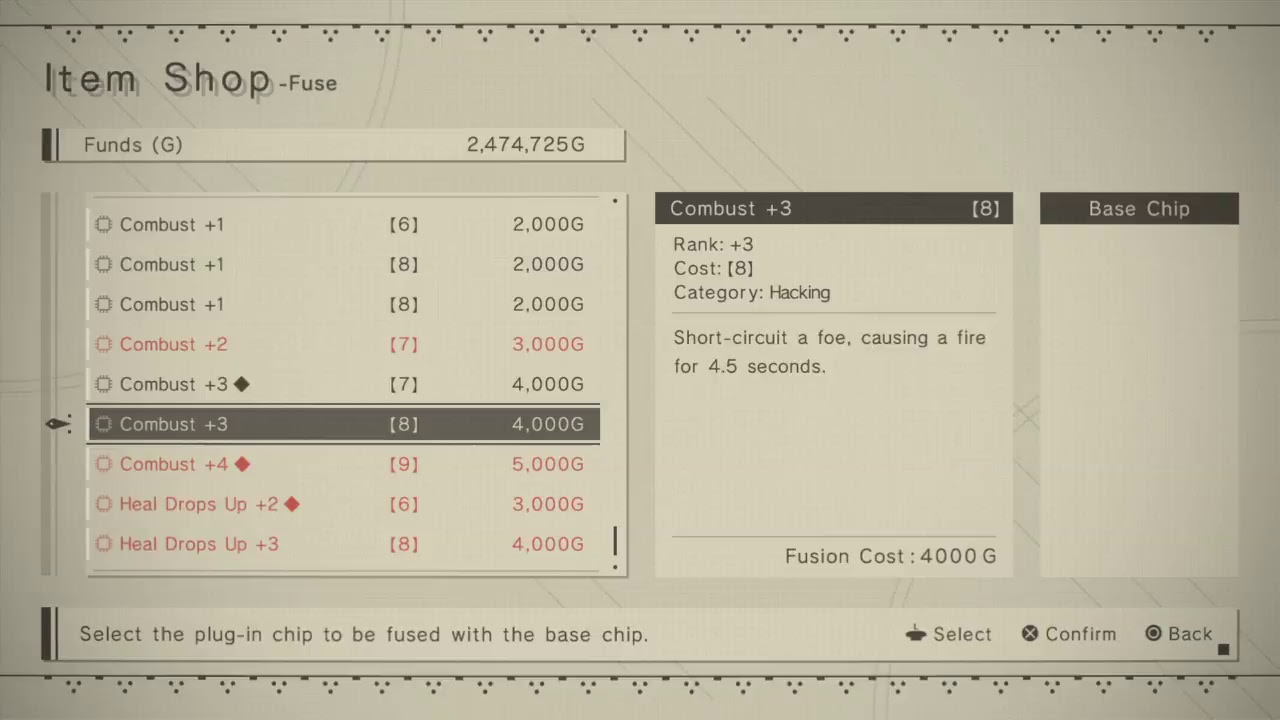
This behaviour is apparent when you buy chips from traders. They usually sell low-value chips
with higher costs (e.g., [21]). It is much more efficient to farm from machines, as their drops
can net you the same value at a lower cost.
Lastly, a diamond sign (♦) in a chip indicates that it has the lowest possible cost at a given level. You’d usually want to keep them so that you can produce low-cost, high-value chips.
You can only fuse chips of the same level
The second rule of chip fusion is that you need two chips of the same level. You won’t make any mistake here because the game UI will only show chips that you can fuse. However, most of your farming and trading activities will depend on this information. This is where the infamous table of values can become helpful.
The table below (credits from Sennzai) shows the maximum and minimum (♦) storage cost for each chip level. If your chip exceeds the maximum storage cost for its particular level, then you’re better off selling it away:
| Chip Level | Min Cost (♦) | Max Cost | Cost Diff |
|---|---|---|---|
| 0 | 4 | 9 | +1 |
| 1 | 5 | 9 | +1 |
| 2 | 6 | 9 | +1 |
| 3 | 7 | 10 | +2 |
| 4 | 9 | 11 | +2 |
| 5 | 11 | 13 | +3 |
| 6 | 14 | 15 | +3 |
| 7 | 17 | 18 | +4 |
| 8 | 21 | - | - |
Chip fusion follows an equation
You’ll usually read about an “odd-even” scheme when people talk about chip fusion. This behaviour is an effect of the equation below:
\[Cost_{new} = ROUNDUP(\frac{Cost_{1} + Cost_{2} + Level}{2})\]So if you have a “Weapon Attack Up +3 [9]” and “Weapon Attack Up +3 [11]” chip,
then the resulting chip will have a level of +4 (it’s always one level above)
and a cost of:
If you check the table of values above, then you’ll notice that our newly-fused
+4 chip is greater than the maximum storage cost (11). This means we lost our
end of the bargain and it’s not a “good fuse.”
Needless to say, fusing two diamond (♦) chips will always result to another diamond chip of the next level. For example, if we fuse two “Weapon Attack Up +3 [7]” chips, we’ll get a “Weapon Attack Up +4” with a cost of 9 (♦):
\[\begin{align*} Cost_{new} &= ROUNDUP(\frac{7 + 7 + 3}{2}) \\ &= ROUNDUP(\frac{17}{2}) \\ &= ROUNDUP(8.5) \\ &= 9 \end{align*}\]The odd-even scheme works when you’re trying to fuse a diamond chip to a non-diamond chip. It goes like this: if your chip level is zero or odd, then you can fuse a diamond chip with a non-diamond chip as long as their cost difference is 1.
If your chip level is zero or odd, then you can fuse a diamond chip with a non-diamond chip as long as their cost difference is 1.
This is not a special rule but a shorthand for the equation above. Let’s say we have a diamond chip “Weapon Attack Up +3 [7]” and a non-diamond chip “Weapon Attack Up +3 [8].” If we fuse them together, they will produce a diamond chip:
\[\begin{align*} Cost_{new} &= ROUNDUP(\frac{7 + 8 + 3}{2}) \\ &= ROUNDUP(\frac{18}{2}) \\ &= ROUNDUP(9) \\ &= 9 \end{align*}\]Notice that even if we fused a diamond chip to a non-diamond one, they still produced the lowest cost for a +4 chip (check the table). It doesn’t work on even numbers because math. For example, say we have a diamond chip “Weapon Attack Up +2 [6]” and a non-diamond chip “Weapon Attack Up +2 [7].” Their cost is computed as:
\[\begin{align*} Cost_{new} &= ROUNDUP(\frac{7 + 6 + 2}{2}) \\ &= ROUNDUP(\frac{15}{2}) \\ &= ROUNDUP(7.5) \\ &= 8 \end{align*}\]Even numbers add a factor such that the minimum value is always \(0.5\) greater when rounded up. That’s really it. When you’re in doubt, always plug them in the equation above and double-check on the table if it is the lowest-possible storage cost.
Postscript
Fusing chips in NieR: Automata feels like a minigame on its own. To be honest, if you’re playing in Normal difficulty, there’s no need to min-max your chips— just play what you feel is fun! If you have any questions, feel free to comment below.
If you haven’t played NieR: Automata, I highly-recommend that you do. It’s a great game that touches on some deep and philosophical topics. The play-by-play combat is awesome too (think Bayonetta and Devil May Cry). An awesome game to start my 2022!