
Developing on a Windows machine
Recently, I’ve been developing on a Windows machine, and it was surprisingly fun. At first, I was anxious because of my previous experience with Windows. Five years ago, installation instructions won’t just work, each step needs a workaround,1 and things break often. It was unpleasant. Now, I feel like the ecosystem has changed for the better.
In this blogpost, I’ll share some of the steps I took to make my machine developer-friendly. Hope you find these helpful as much as I did:
- Install WSL2, Windows Terminal, and VSCode
- Prettify your PowerShell Prompt
- Install Microsoft Powertoys for more control
Install WSL2, Windows Terminal, and VSCode
Installing Windows Subsystem for Linux 2 (WSL2) feels like cheating because I’m literally just running Linux. Installation was painless, and all my dotfiles for vim, tmux, and bash worked out of the box. Also, you can choose any distro you want from the Microsoft Store! I’m pretty basic so I went with Ubuntu 20.04.
I also installed Visual Studio Code (VSCode) since it can seamlessly open files in both my Windows and Linux filesystems. Back then, I was bitten by the CRLF problem when opening files between the two. This has been solved in VSCode.
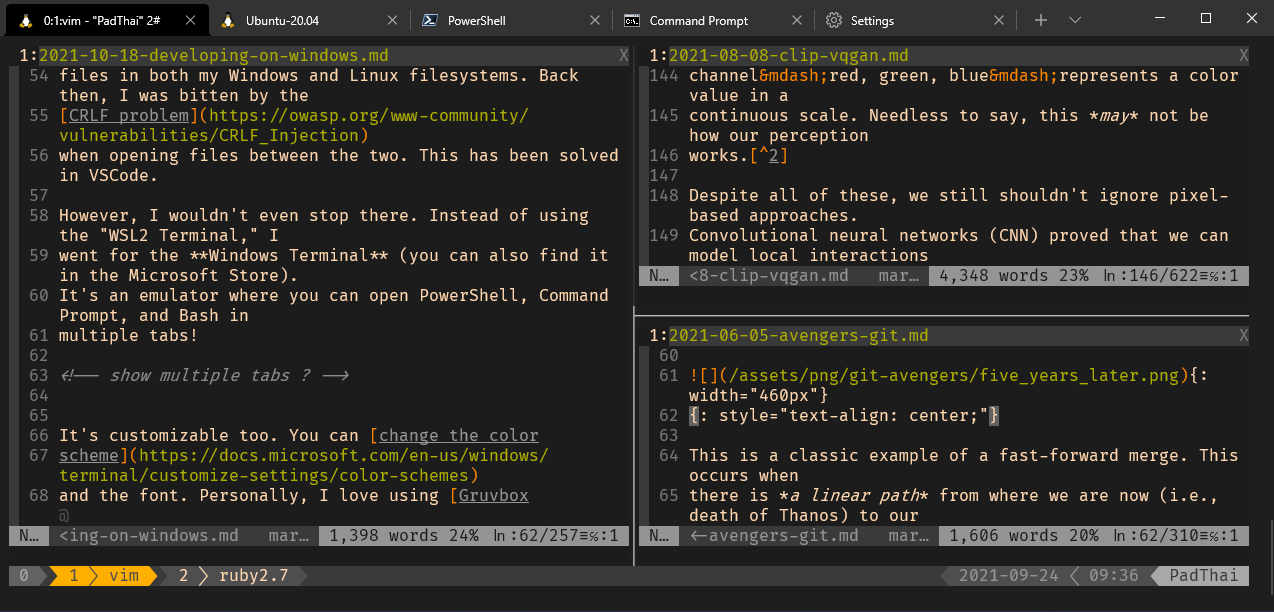
However, I wouldn’t even stop there. Instead of using the “WSL2 Terminal,” I went for the Windows Terminal (you can also find it in the Microsoft Store). It’s an emulator where you can open PowerShell, Command Prompt, and Bash in multiple tabs!
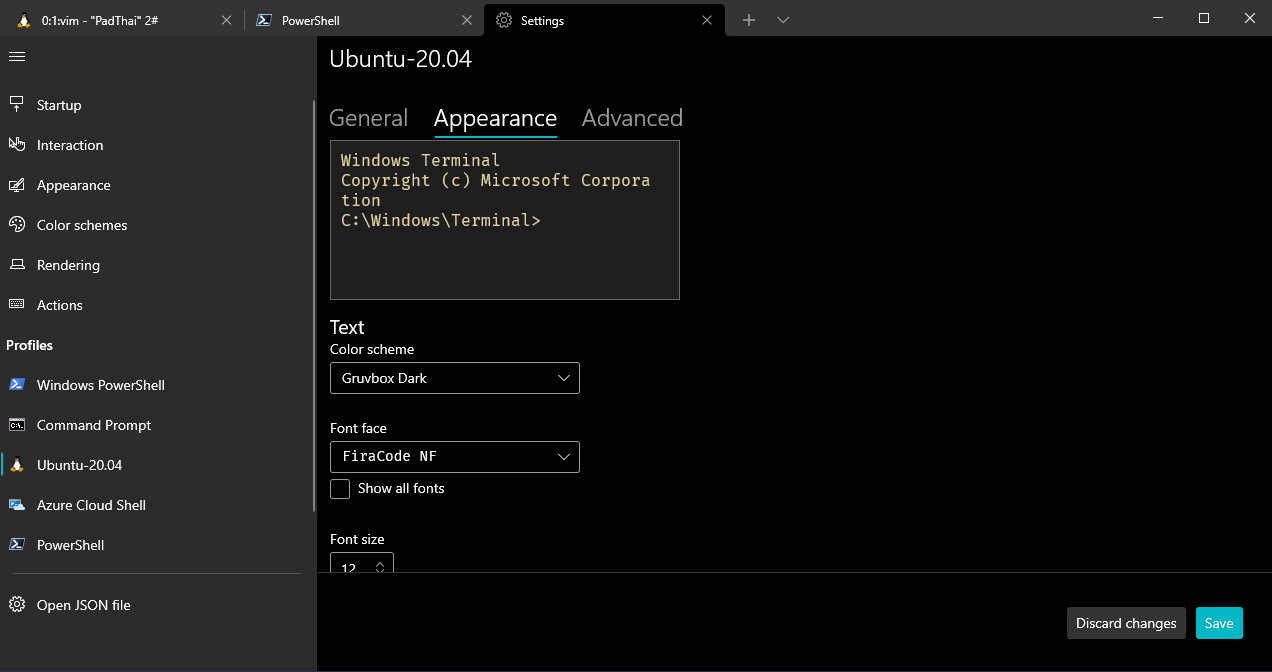
It’s customizable too. You can change the color scheme and the font. Personally, I love using Gruvbox Dark and Fira code.2
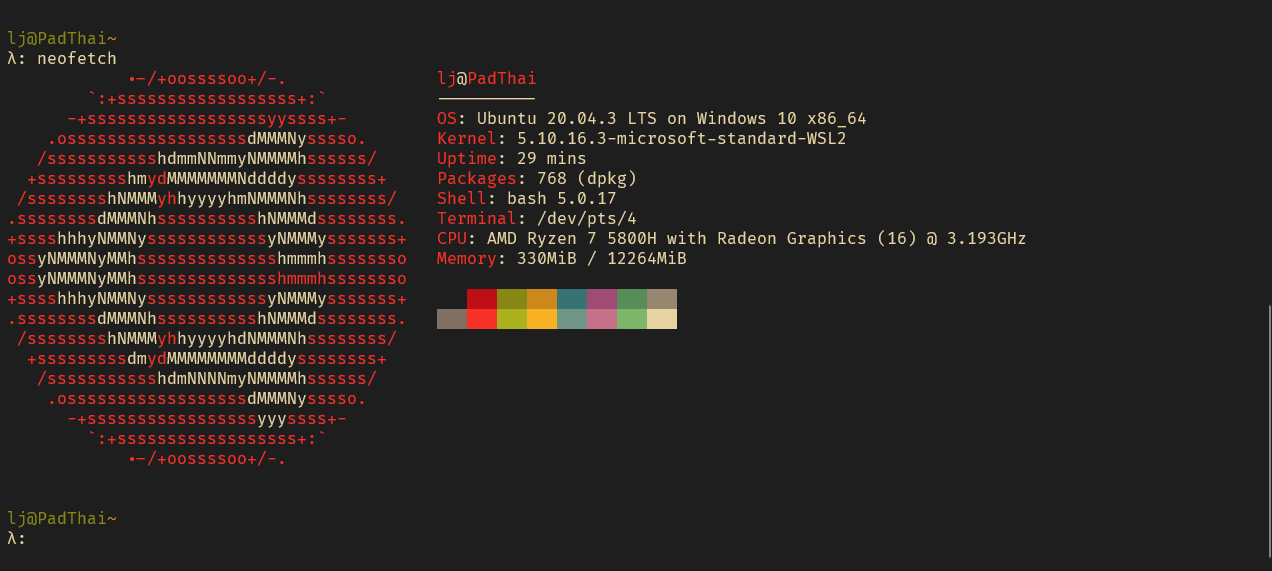
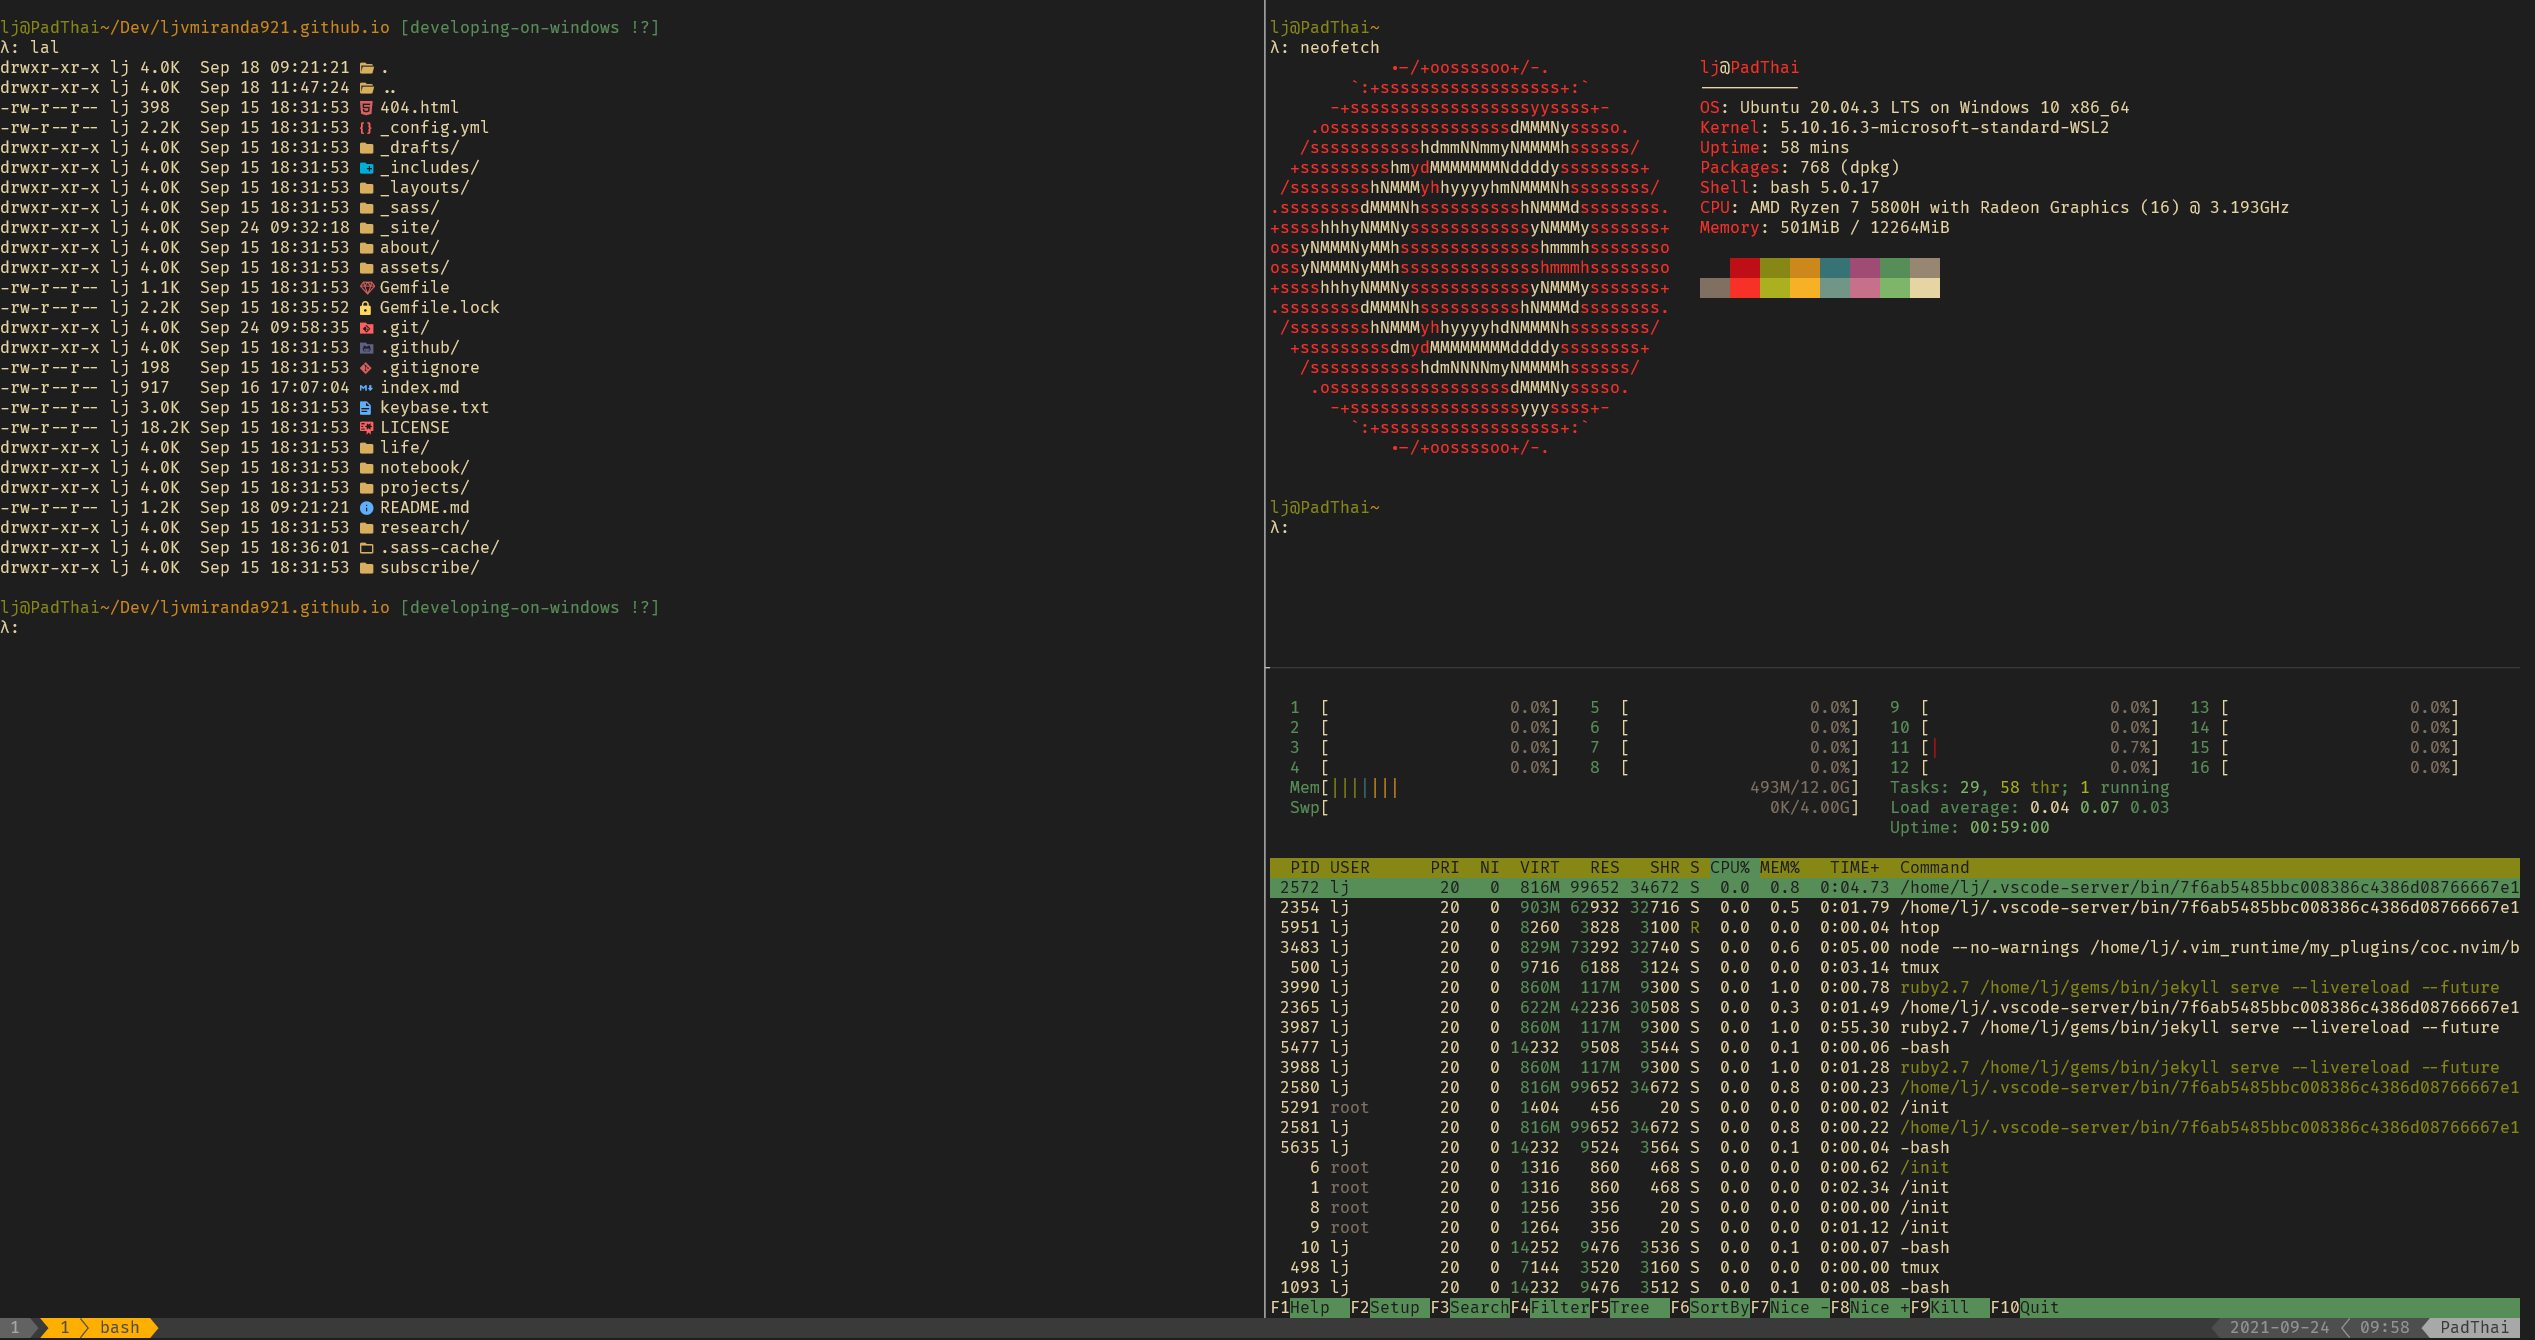
After a few tweaks, my terminal already looks like the one I’ve been accustomed to in my Linux machine.
Lastly, another thing I did is to set Bash as my default profile, and update
the starting directory to //wsl$/Ubuntu-20.04/home/$USER/. So whenever I open
the Windows Terminal, the bash profile is automatically loaded and is set to
the actual home directory for Linux.
Prettify your PowerShell Prompt
Now that I’m looking at Windows with my more experienced developer eyes, I was curious as to how I can get around the OS through the shell. Previously, I’ve always used the GUI. With that, I learned that the main entrypoint is through PowerShell.
I don’t really see myself writing PowerShell scripts in the future. So in order to dip my toes into the environment, my tiny task is to prettify my terminal.
PowerShell
However, we won’t be using the pre-installed “Windows PowerShell” for our tasks. Instead, we will download another PowerShell (named just “PowerShell”) from the Microsoft Store. Confusing? Yeah, here’s what I got:
- The pre-installed PowerShell, or Windows PowerShell (or PowerShell 5.1) is a Windows-only program that relies on an older .NET Core runtime. It’s no longer in active development aside from bug-fixes.
- The new PowerShell, named PowerShell (or PowerShell 7.x) supports cross-platform development. So programs developed there can run on Windows, macOS, and Linux.
You can check your PowerShell version by typing $PSVersionTable and checking
the value in the PSVersion key. On my machine, PowerShell 7.x is installed
side-by-side with PowerShell 5.1. I am not sure if it’s possible to upgrade 5.1
to 7.X., so I opted to keep them separate.
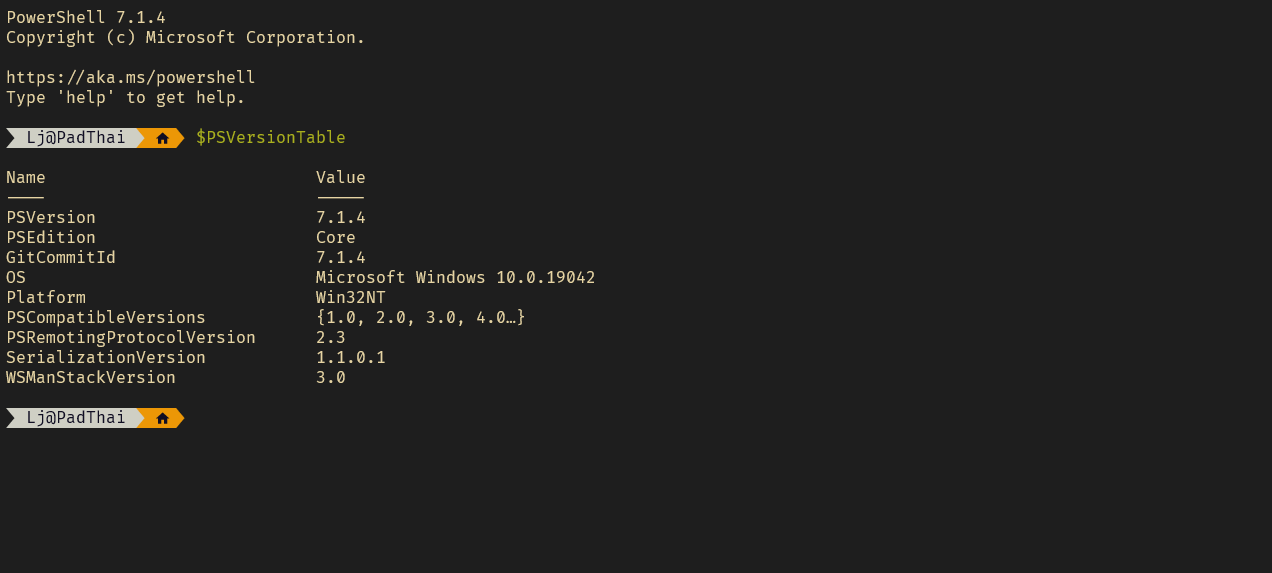
PSVersionTable shows the 7.x versionPersonally, it feels similar to the Python 2 to 3 conundrum. Sometimes it’s okay to keep them both so as to not break anything in your system.
Install chocolatey
The next thing I did is to download the Chocolatey
package manager. We will use it to install the prompt theme engine for
PowerShell. You can liken Chocolatey to apt in Linux. Also, note that it’s a
third-party app, as there is an official package manager by the name
winget.
I chose Chocolatey over winget because the former seems more mature and is feature-complete. To be honest, I am not sure of all the nuances between the two. A quick Reddit search on “winget vs chocolatey” shows some hesitation from other developers over winget. As for me, I value stability, so I just went with Chocolatey.
Install Oh-My-Posh
Oh-My-Posh is a prompt theme engine for customizing PowerShell. I found this through Scott Hanselman’s blogpost on making your terminal pretty. To install it via Chocolatey, I ran:
choco install oh-my-posh
Then, I have to add the following line to my $PROFILE:
oh-my-posh --init --shell pwsh --config ~/jandedobbeleer.omp.json | Invoke-Expression
I spent an hour figuring out where that $PROFILE file is located. Turns
out, you can find it at:
C:\\Users\%USER%\Documents\Powershell\Microsoft.PowerShell_profile.ps1
If you haven’t configured your PowerShell profile before, then that file may
not exist yet. Create one and copy the oh-my-posh line above. Instead of
navigating through your File Explorer, you can jump ahead using VSCode by typing:
code $PROFILE
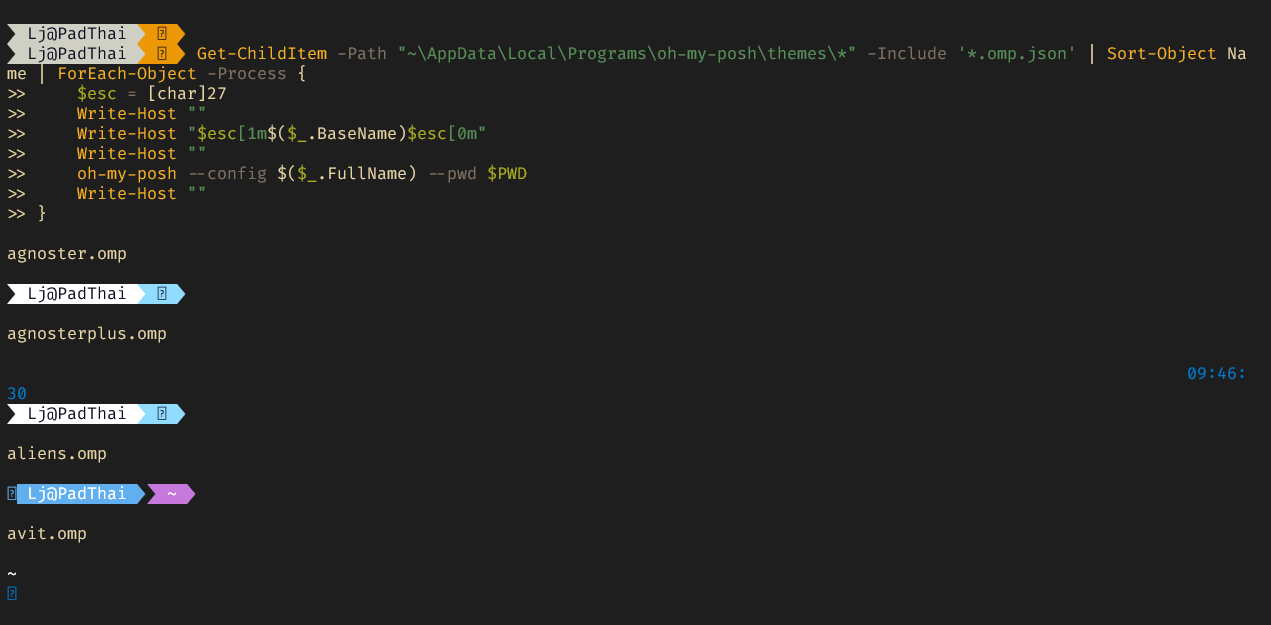
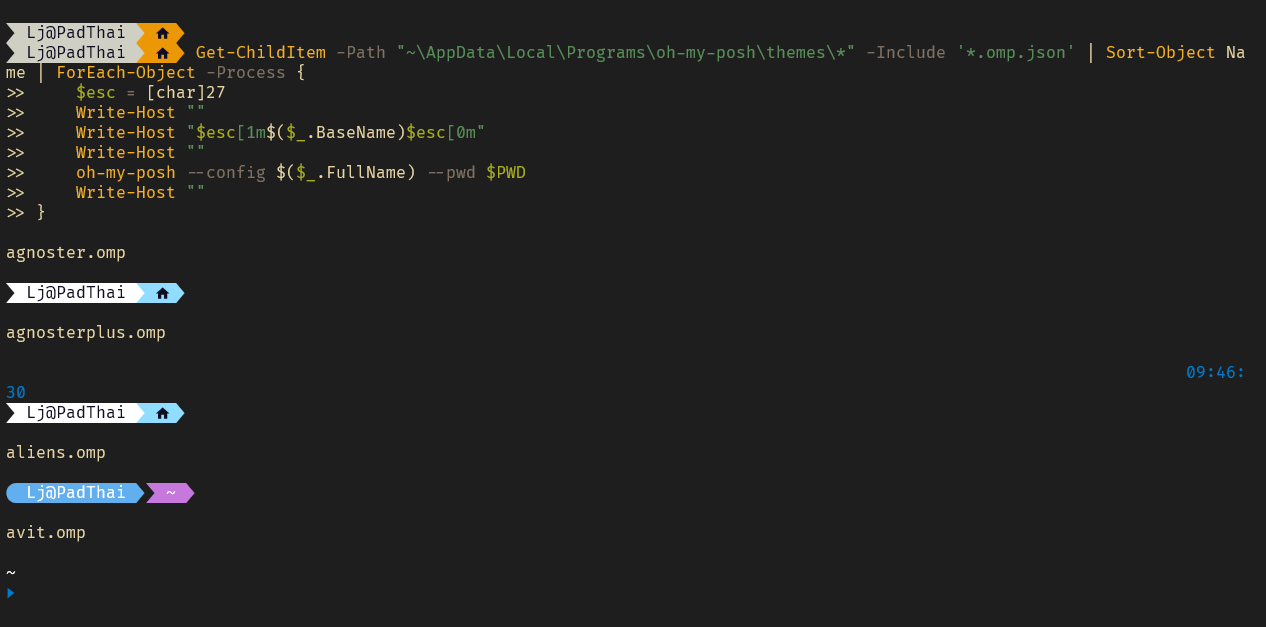
You can also
change your
theme by
updating the --config option. There’s a wide selection of
themes, but I opted to use
nu4a
as it fits nicely to Gruvbox.
# Pre-installed themes can be found in ~\AppData\Local\Programs\oh-my-posh\themes\*.omp.json
oh-my-posh --init --shell pwsh --config ~\AppData\Local\Programs\oh-my-posh\themes\nu4a.omp.json | Invoke-Expression
At first, the prompt looks weird because some glyphs didn’t render properly. To fix that, I used the patched version of Fira Code so that I have access to all icons and shapes.
I decided to be more extra and installed Terminal Icons. This adds small and
cute icons whenever you type ls and dir. I installed it by typing the
command below:
Install-Module -Name Terminal-Icons -Repository PSGallery
and by adding the following line in my $PROFILE:
Import-Module -Name Terminal-Icons
now it looks awesome!
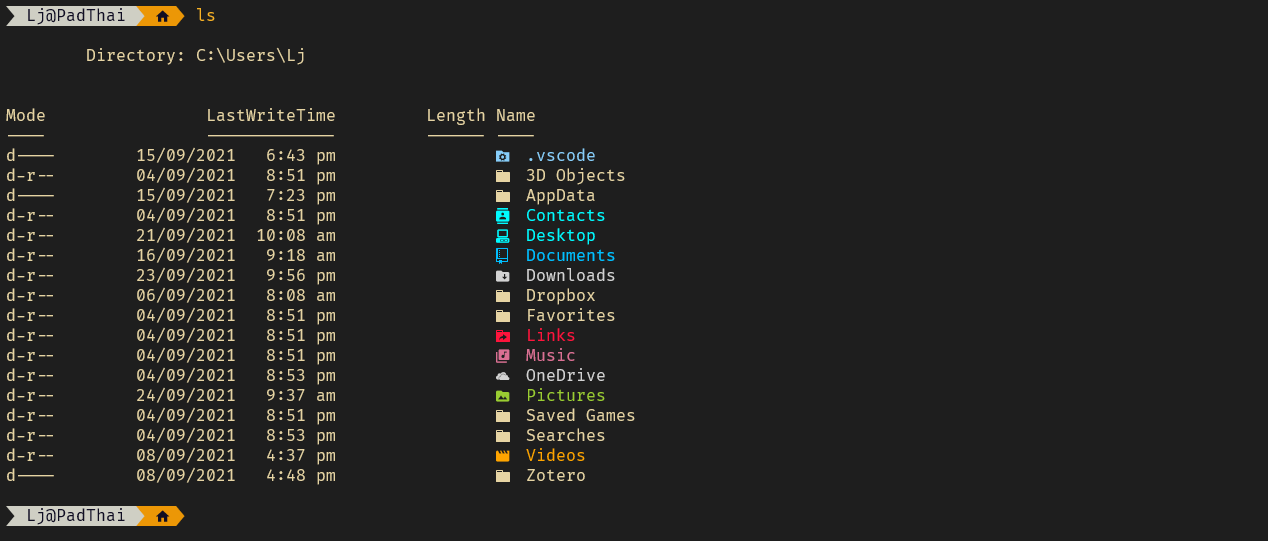
Terminal-Icons because I want to be more extraInstall Microsoft Powertoys for more control
Lastly, I installed Microsoft Powertoys to help improve my developer experience. You can think of it as a collection of tools bundled into one package. One of my favorites are:
- Powertoys Awake: it functions similarly to Linux’s Caffeine Indicator, where you can toggle your display to remain on for an indefinite amount of time. I find it perfect for long-running tasks, or when I just want my screen to be on while I’m away from my desk.
- Keyboard Manager allows me to remap keys however I want. I used this to rebind my Caps Lock key to Esc, so that I have less “travel time” when using Vim. I think that using Keyboard Manager is safer than editing registry files directly, so I went for this option.
Aside from these two, there are still a lot of utilities included in Powertoys, but I still have to check them out.
FAQs
- Why did you change to Windows? I’ve been gaming recently and some NVIDIA drivers don’t work out-of-the-box on Linux, especially on current-gen GPUs. If they do, they cause weird errors like screen stuttering and blackouts.
- What made you take the leap? Mostly curiosity. I’ve seen a lot of developers be productive on Windows, and I’d like to try it out myself.
- You’re overselling it a bit, now tell me about the quirks Sure, yanking to/from clipboard is not straightforward in Vim, network assignment is buggy (I need to restart to get connection), and nested virtualization (running Docker) is not yet solid. However, I still find these issues a bit minor (the first two can easily be solved by some tweaks), so I’m sticking to WLS2 for now.
-
I remember back then, I use alternatives like Cygwin, MSYS2, and Git Bash on Windows to emulate a Linux-like experience. It was fun so I decided to jump head-on to a full Linux installation. ↩
-
I use NerdFont’s patched version of Fira Code. With that, you can access almost a thousand icons to prettify your terminal. ↩