
A Weekend Ray Tracer
Just sharing the output of my fun weekend escapade in ray tracing and computer graphics!
Last month, I went through Peter Shirley’s “Ray Tracing in One Weekend” to build my very own ray tracer from scratch! I’ve been reading a lot about computer graphics recently, and this guide encouraged me to try something on my own.
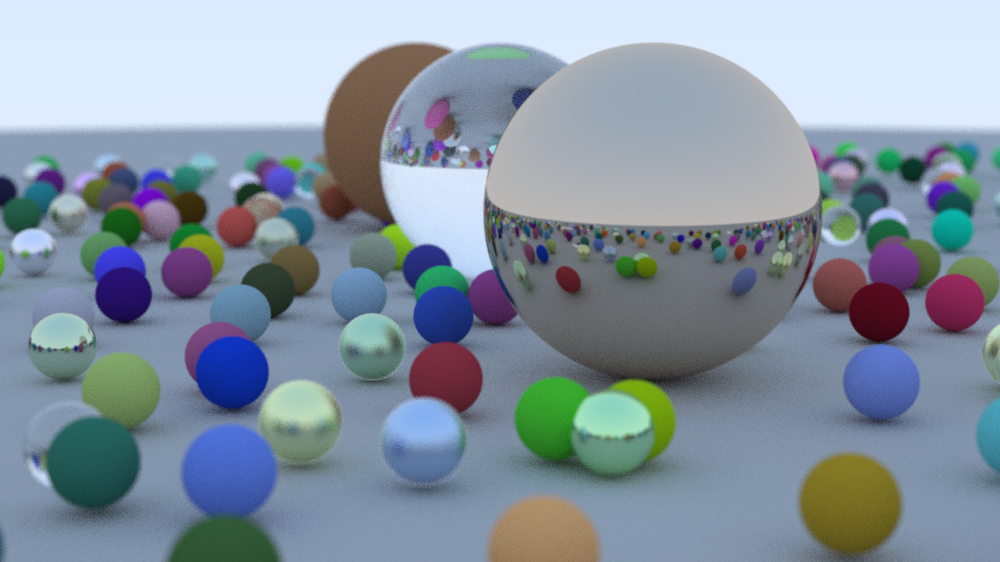
The book was easy to follow, and the math itself isn’t that complicated—just a decent understanding of geometry (vectors, surface normals, Snell’s law, etc.). The code was written in C++, but I opted to write it in Typescript as a learning practice. The best part is that you get a nice output in the end:
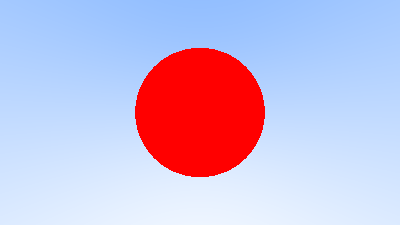
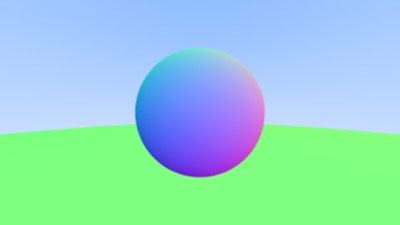
The teaching style was bottom-up. We started by writing the basic building blocks, then slowly inched our way up to new features and materials. For example, here I rendered some colors to form a sphere:


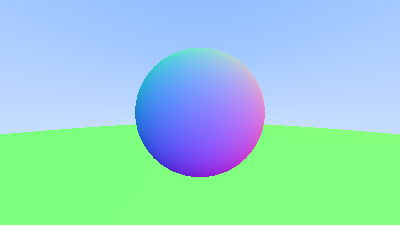
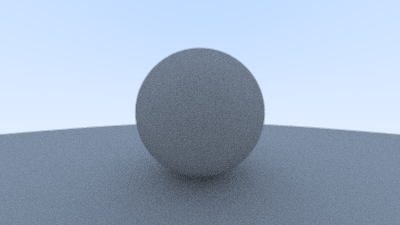
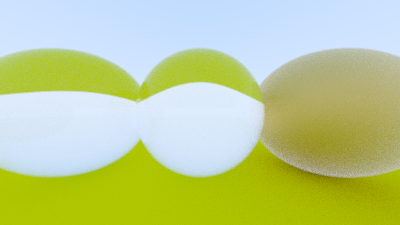
Then little by little, we added simple ray computations and surface normals. The idea was to create an imaginary ray, and simulate it by hitting a particular object. Depending on the object’s material, a ray computation was done. You do it for as many times until you fill the whole image.
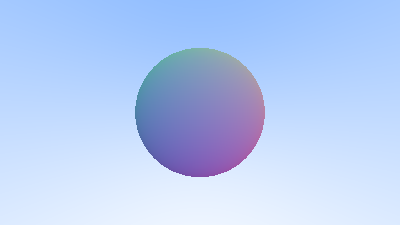
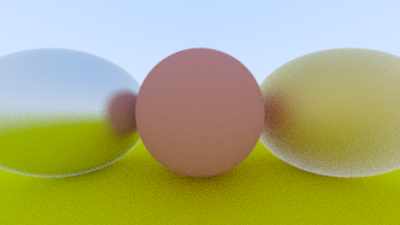
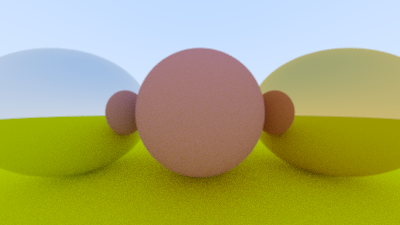
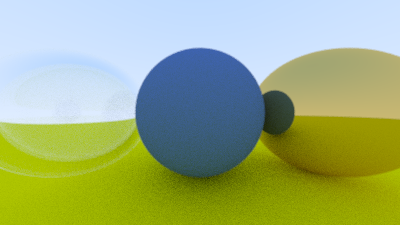
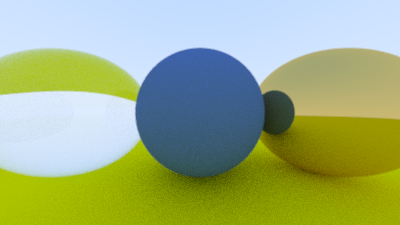
We then took some time to generalize that ray-sphere interaction, and use that as a blueprint for different materials. As it turns out, each material has its own ray computation, governed by how easy it is for light to reflect and refract on its surface— cool stuff.
And that’s it! It was a fun experience: I like the idea of learning something with a cool outcome in the end. Now I get to appreciate those raytracing moments in some of the games I’ve played. It must be pretty intensive to compute those things given high framerates.